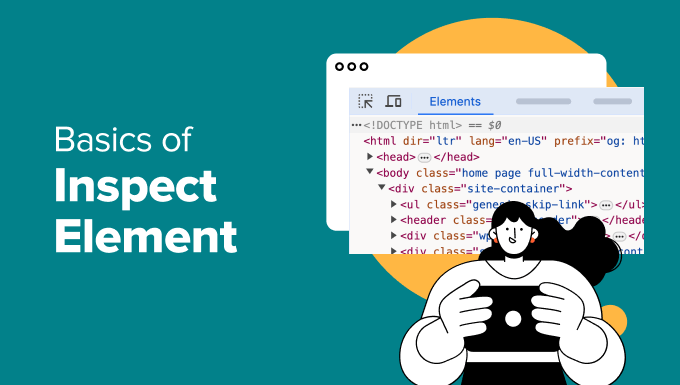
Basics of Inspect Element: Customizing WordPress for DIY Users

Understanding Inspect Element: Your Gateway to WordPress Customization
Inspect Element is a powerful developer tool built into most modern web browsers like Chrome, Firefox, Safari, and Edge. It allows you to delve into the underlying code of a webpage – the HTML, CSS, and JavaScript that make up its structure and appearance. For DIY WordPress users, understanding and utilizing Inspect Element can unlock a world of customization possibilities, allowing you to tweak the look and feel of your website without being a coding expert.
Essentially, Inspect Element lets you see and temporarily edit the code that your browser is using to display a website. These changes are only visible to you on your own computer and are not permanently saved on the website itself. This makes it a safe and effective sandbox for experimenting with different design tweaks and understanding how your WordPress theme and plugins are structured.
Accessing and Navigating Inspect Element
The process for accessing Inspect Element is nearly identical across all major browsers. Here’s a breakdown:
- Right-click anywhere on the webpage you want to inspect.
- In the context menu that appears, select “Inspect” or “Inspect Element.”
- Alternatively, you can use keyboard shortcuts:
- Chrome/Firefox/Edge: Ctrl+Shift+I (Windows) or Cmd+Opt+I (Mac)
- Safari: Cmd+Opt+I (Mac) – You may need to enable the Developer menu in Safari’s preferences (Safari > Preferences > Advanced > Show Develop menu in menu bar).
Once opened, the Inspect Element tool typically appears as a panel at the bottom or side of your browser window. It’s usually divided into two main sections:
- Elements Panel: This panel displays the HTML structure of the webpage in a hierarchical tree. You can expand and collapse different elements to navigate through the code and see how they relate to each other.
- Styles/Computed Panel: This panel shows the CSS rules that are being applied to the selected HTML element. You can see where these rules are defined (e.g., in a theme stylesheet or an inline style) and what their specific values are.
Learning to navigate these panels is crucial for effective customization. Use the arrow keys to move up and down the HTML tree in the Elements panel, and click on elements to see their corresponding styles in the Styles panel. The “Computed” tab shows the final, calculated values of all CSS properties affecting the selected element, taking into account inheritance and specificity.
Basic HTML and CSS Concepts for WordPress Customization
Before diving into specific customization techniques, it’s essential to grasp some fundamental HTML and CSS concepts.
HTML (HyperText Markup Language): This is the language used to structure the content of a webpage. HTML elements are the building blocks of a page, defining everything from headings and paragraphs to images and links. HTML elements are identified using tags. For example:
- `
` is used for main headings.
- `
` is used for paragraphs.
- `
` is used for images.
- `` is used for links.
- `
` is a generic container element often used for grouping other elements.
- `` is an inline container element, often used for styling specific text within a larger block.
Each element consists of an opening tag (e.g., `
`) and a closing tag (e.g., `
`). Elements can also have attributes, which provide additional information about the element. For example: `
 `
`CSS (Cascading Style Sheets): This is the language used to style the appearance of a webpage. CSS rules define how HTML elements should be displayed, controlling things like colors, fonts, sizes, spacing, and layout. CSS rules consist of a selector and a declaration block.
- Selector: Identifies the HTML element(s) that the rule applies to (e.g., `h1`, `.my-class`, `#my-id`).
- Declaration Block: Contains one or more declarations, each consisting of a property and a value (e.g., `color: blue;`, `font-size: 24px;`).
CSS rules can be defined in several ways:
- External Stylesheets: Separate `.css` files that are linked to the HTML document. This is the most common and recommended approach.
- Internal Stylesheets: CSS rules embedded within the `
Related Topics by Tag- How to Remove the Sidebar in WordPress (6 Easy Methods)
- WordPress Widgets vs Blocks – What’s the Difference? (Explained)
- How to Easily Add Custom CSS to Your WordPress Site
- How to Disable Unwanted Widgets in WordPress Admin (2 Ways)
- How to Disable the Screen Options Button in WordPress
- How to Replace ‘Add Title’ Placeholder Text in WordPress
- How to Show Empty Categories in WordPress Widgets
