We’ll be back soon!
Sorry for the inconvenience but we’re performing some maintenance at the moment. If you need to you can always contact us, otherwise we’ll be back online shortly!
— The Team

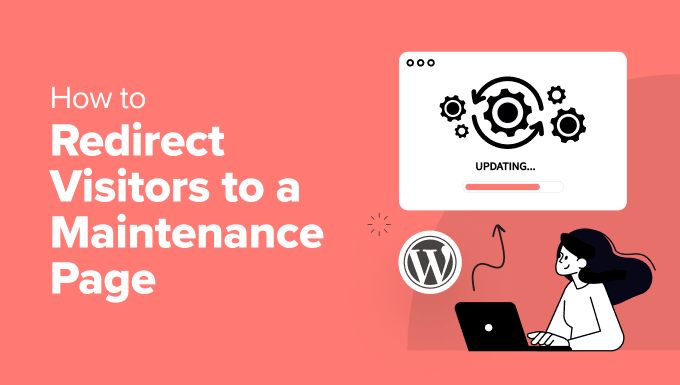
When performing updates, troubleshooting issues, or implementing significant changes to your WordPress website, it’s crucial to put your site into maintenance mode. This presents visitors with a clean, professional maintenance page instead of broken layouts, error messages, or partially functioning features. A well-designed maintenance page informs visitors that the site is temporarily unavailable and provides reassurance that it will be back online soon. This improves user experience, prevents frustration, and minimizes the impact of downtime on your site’s reputation. Displaying a maintenance page ensures a smoother and more controlled experience for both you and your website visitors.
There are several ways to implement a maintenance page in WordPress, ranging from simple code snippets to dedicated plugins. Each method offers varying levels of customization and complexity. Choosing the right approach depends on your technical skills, specific needs, and desired level of control.
Using a dedicated plugin is often the easiest and most user-friendly method for implementing a maintenance page. Numerous plugins are available in the WordPress repository, each offering different features and customization options.
When choosing a maintenance mode plugin, consider the following factors:
Here are a few popular maintenance mode plugins:
The installation process is the same for most WordPress plugins:
Once the plugin is activated, you’ll typically find its settings under the **Settings** menu or a dedicated menu item in the WordPress dashboard. Configure the plugin according to your preferences, including:
The `.htaccess` file is a powerful configuration file for Apache web servers. You can use it to redirect all traffic to a maintenance page while you work on your site. This method requires more technical knowledge but offers more control over the process.
First, create an HTML file named `maintenance.html` (or any name you prefer) and place it in the root directory of your WordPress installation. This file will contain the content of your maintenance page.
“`html
Sorry for the inconvenience but we’re performing some maintenance at the moment. If you need to you can always contact us, otherwise we’ll be back online shortly!
— The Team
“`
Customize the HTML content to your liking.
Next, you need to modify the `.htaccess` file in your WordPress root directory. **Important:** Always back up your `.htaccess` file before making any changes.
Add the following code to your `.htaccess` file:
“`apache
RewriteEngine On
RewriteCond %{REMOTE_ADDR} !^123.456.789.000
RewriteCond %{REQUEST_URI} !/maintenance.html$ [NC]
RewriteCond %{REQUEST_URI} !.(gif|jpe?g|png)$ [NC]
RewriteRule .* /maintenance.html [R=503,L]
“`
**Explanation of the code:**
**Important Considerations:**
To disable maintenance mode, simply remove or comment out the code you added to the `.htaccess` file.
You can also implement a maintenance page by adding code to your theme’s `functions.php` file. This method is less flexible than using a plugin but doesn’t require installing any additional software.
As with the `.htaccess` method, you first need to create an HTML file named `maintenance.php` (or any name you prefer) and place it in your theme’s directory. This file will contain the content of your maintenance page. It’s best to use `maintenance.php` as WordPress can sometimes automatically recognize and use this file in maintenance mode.
“`html
Sorry for the inconvenience but we’re performing some maintenance at the moment. If you need to you can always contact us, otherwise we’ll be back online shortly!
— The Team
“`
Customize the HTML content to your liking.
Next, add the following code to your theme’s `functions.php` file:
“`php
503 )
);
}
}
add_action( ‘get_header’, ‘wp_maintenance_mode’ );
?>
“`
**Explanation of the code:**
**Important Considerations:**
To disable maintenance mode, simply remove or comment out the code you added to the `functions.php` file.
Some WordPress themes come with a built-in maintenance mode feature. This is usually the simplest option if your theme supports it.
Refer to your theme’s documentation to see if it includes a maintenance mode option. The documentation should provide instructions on how to enable and configure it.
If your theme has a built-in maintenance mode, you’ll usually find the settings in the theme options panel, which might be located under the **Appearance** menu or a dedicated menu item in the WordPress dashboard.
The theme options should allow you to customize the look and feel of the maintenance page, including text, colors, and images.
When putting your site into maintenance mode, it’s important to consider the impact on search engine optimization (SEO). Search engines may interpret a prolonged period of downtime as a sign that the site is no longer active, which can negatively affect its ranking.
As mentioned earlier, using a 503 (Service Unavailable) status code is crucial for informing search engines that the maintenance is temporary and that the site will be back online soon. This tells search engines not to de-index the site.
The maintenance page should clearly state that the site is undergoing maintenance and will be back online shortly. This helps manage user expectations and prevents them from leaving the site permanently.
Try to minimize the duration of the maintenance period as much as possible. If the maintenance is expected to take a long time, consider providing an estimated time of completion.
After implementing a maintenance page using any of the methods described above, always test it thoroughly. Use a browser that you’re not logged into, or use a private browsing window, to ensure that the maintenance page is displaying correctly to regular visitors while you can still access the site as an administrator. Verify that the 503 status code is being sent correctly using online tools like Google’s Rich Results Test.